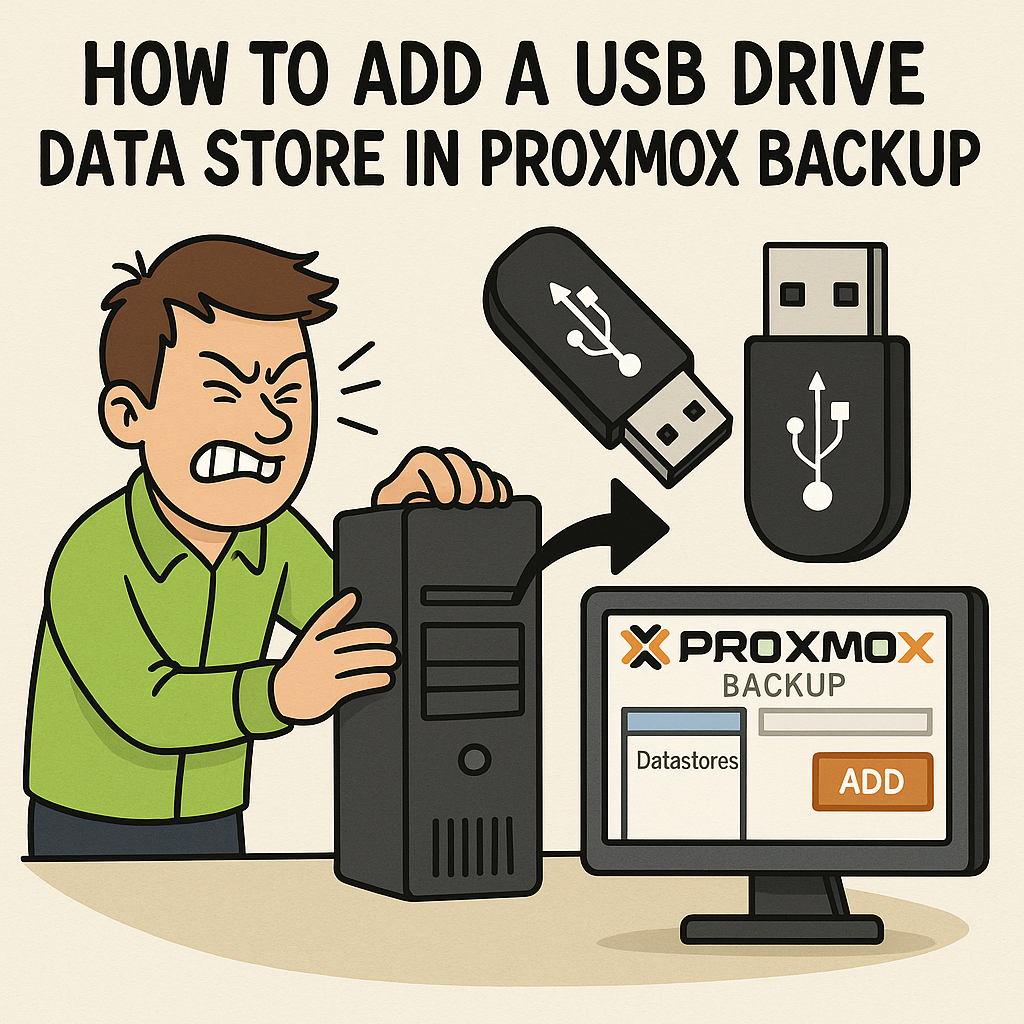
Welcome, fellow homelab wizard! Let’s break down the (slightly extra) process of adding USB hard drives to a virtual machine running Proxmox Backup Server (PBS). Spoiler alert: it’s a bit more work than if you just slapped a drive into a physical box, but we’ve got this..
🔧 Overview
When you’re running PBS inside a Proxmox VE virtual machine and want to add USB drives as data stores, you need to:
- Attach the drives to the VM.
- Format and mount them manually in the shell.
- Add them as data stores via the PBS GUI.
- Make the mounts permanent using
/etc/fstab.
🛠 Step-by-Step Instructions (with Example Commands)
1. Create Your PBS Virtual Machine
Create a virtual machine and install Proxmox Backup Server. This is your backup brain in a box.
2. Attach the USB Drives
- On your Proxmox VE host, go to your PBS VM settings.
- Click Hardware > Add > USB Device.
- Select the USB hard drive from the list and click Add.
3. Boot the PBS VM and Open the Shell
From the Proxmox GUI:
- Click on your PBS VM.
- Go to Console or Shell.
4. Identify the Drives
lsblk
Look for drives like /dev/sdb, /dev/sdc, etc. These are likely your USB drives.
5. Partition the Drives
Use fdisk or parted to partition each drive as GPT.
sudo fdisk /dev/sdb
- Press
gto create a new GPT table. - Press
nto create a new partition. - Write with
wto save.
6. Format the Drives
sudo mkfs.ext4 /dev/sdb1
Repeat for each drive.
7. Create Mount Points
sudo mkdir -p /mnt/usb1
sudo mkdir -p /mnt/usb2
Each drive needs its own folder.
8. Mount the Drives
sudo mount /dev/sdb1 /mnt/usb1
Repeat for each drive.
9. Confirm They’re Mounted
lsblk
You should see your devices mounted to the paths you created.
📦 Add the Data Stores via PBS GUI
Now let’s make PBS actually use these drives:
- Go to the PBS web interface.
- Click on Datastore > Add.
- Enter:
- Name (e.g.,
USB-Backup1) - Path (e.g.,
/mnt/usb1)
- Name (e.g.,
- Click Add.
Congrats! PBS now sees the drive.
💾 Make Mounts Persistent with /etc/fstab
Because Linux is forgetful after reboots.
1. Get the UUID of Each Drive
sudo blkid
Copy the UUIDs and note which one is which.
2. Edit /etc/fstab
sudo nano /etc/fstab
Add lines like this:
UUID=xxxxxxxx-xxxx-xxxx-xxxx-xxxxxxxxxxxx /mnt/usb1 ext4 defaults 0 2
Do this for each drive.
3. Test the Config
sudo mount -a
If no errors appear, you’re golden. Reboot and verify with lsblk or df -h.
🧙♂️ Bonus Tips
- Take a VM snapshot before making these changes. Always good to have a time machine.
- Update your PBS system first with:
sudo apt update && sudo apt upgrade -y
- If things break after reboot: check your
/etc/fstabsyntax or UUIDs.
🏁 Summary
Adding USB drives to a PBS VM takes some manual magic, but once it’s set up, you’ve got flexible, external backup storage running in style.
So go ahead, mount up, back up, and sleep easy knowing your data has a solid home—even if it’s via a USB cable.